


Cranfield University students and staff recently joined other members of the DREAM Centre for Doctoral Training in Big Data, on the excellent ‘Winter School’ in Big Data at the Hartree Centre, the UK’s pre-eminent centre for Big Data technology. We were able to explore the impressive capability of the Apache Spark environment on the Hartree’s IBM compute cluster. Learning Apache Spark™ offers a useful insight into Big Data processing, and the opportunities available to handling data at scale. Spark is a fast and general engine for large-scale data processing, and has emerged as the software ‘ecosystem’ of choice for contemporary Big Data processing. Its huge advantage over earlier Big Data tool approaches is that it runs all its operations sequentially in memory, avoiding the cost of successive disk operations; as a consequence it is very quick. Spark has four key modules that allow powerful, but complimentary data processing: ‘SQL and DataFrames’, ‘Spark Streaming’, ‘MLlib’ (machine learning) and ‘GraphX’ (graph). The good news is that one can learn Spark in a number of ways, all at no cost. Most of the big cloud providers who provide Spark offer ‘community accounts’ where one can register a free account in order to learn (e.g. IBM Data Science Experience, databricks and MS Azure to name a few). However, Spark can also be installed locally on a laptop which, if it has a multi-core processor, can then do some parallel processing of a sort: certainly enough for our learning purposes. It is therefore the installation of a local Big Data Spark Environment on a MacBook laptop that forms the basis for this post, (clearly this will all also work on Linux too). In addition to Spark, this post also allows us to explore the use of the Apache Zeppelin™ notebook environment. Notebooks are a fantastic way to keep a record of projects, with processing code and contextual information all kept in one document. For this whole project exercise then we undertook the following steps:
Load up some sample CSV data
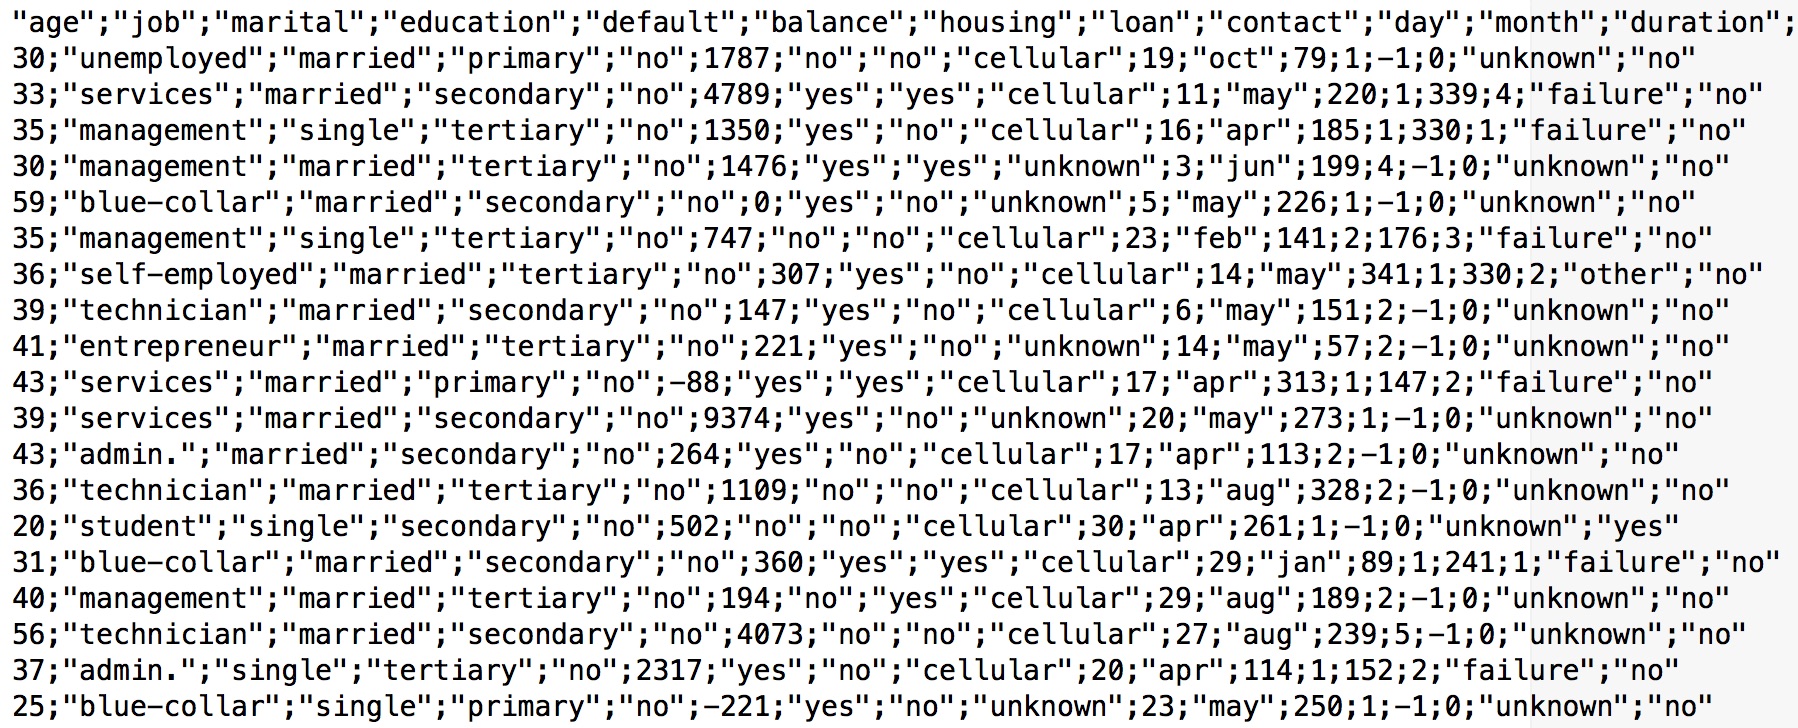
As a very first step, we wanted to download some sample data onto the local disk that could be representative of ‘Big Data’. The CSV format (Comma Separated Values) is widely used as a means of working with large datasets, so we will use this. The Apache Foundation themselves have a number of example files – so we will use one of them – ‘bank.csv’. To pull a file in locally, use the ‘curl‘ command, thus:curl "https://s3.amazonaws.com/apache-zeppelin/tutorial/bank/bank.csv" -o "bank.csv"
On other systems, the ‘wget‘ command can also be used (e.g. on linux). After this we have a file ready for later use.
Installing Spark
Next, we need to install Spark itself. The steps are as follows: 1. Go to http://spark.apache.org and select ‘Download Spark’. 2. We left the version number ‘drop down’ for version numbers at the latest (default): for us this was v2.0.2 3. We downloaded the resultant file ‘spark-2.0.2-bin-hadoop2.7.tgz’. 4. We created a new folder ‘spark’ in our user home directory, and opening a terminal window, we unpacked the file thus:tar -xvf spark-2.0.2-bin-hadoop2.7.tgz.
5. After this we checked the files are all present in /Users/geothread/spark/spark-2.0.2-bin-hadoop2.7.
The next step is that the configuration needs checking. In the terminal, move to the conf spark folder:
cd /Users/geothread/spark/spark-2.0.2-bin-hadoop2.7/conf.
6. Templates. Note in the conf file there are a load of files which end *.template (e.g. ‘spark-defaults.conf.template’). These template files are provided for you to edit as required. If you need to do this, you copy the template file, removing the suffix first, then edit as required (e.g. cp spark-defaults.conf.template spark-defaults.conf). In fact, we will leave these default settings as they are for now in our local installation.
7. Running Spark. To run Spark, in terminal, move to the bin folder. We will start off by running scala. Scala is the programming language that Spark is mostly written in, but can also be run at the command line. In running Scala, we can note how the spark context ‘sc’ is made available for use (the spark context is the ‘instance’ of spark that is running):
bin$> ls
beeline			pyspark2.cmd		spark-shell2.cmd
beeline.cmd		run-example		spark-sql
derby.log		run-example.cmd		spark-submit
load-spark-env.cmd	spark-class		spark-submit.cmd
load-spark-env.sh	spark-class.cmd		spark-submit2.cmd
metastore_db		spark-class2.cmd	sparkR
pyspark			spark-shell		sparkR.cmd
pyspark.cmd		spark-shell.cmd		sparkR2.cmd

bin$> ./spark-shell
Spark session available as 'spark'.
Welcome to
      ____              __
     / __/__  ___ _____/ /__
    _\ \/ _ \/ _ `/ __/  '_/
   /___/ .__/\_,_/_/ /_/\_\   version 2.0.2
      /_/
Using Scala version 2.11.8 (Java HotSpot(TM) 64-Bit Server VM, Java 1.8.0_65)
scala> sc
res0: org.apache.spark.SparkContext = org.apache.spark.SparkContext@8077c97
scala> System.exit(1)
Now instead we will switch to Python. We will try running Python with the API designed to expose it to Spark, pyspark, and so now we can also load and do a line count of that sample CSV data downloaded earlier. Note, the spark context sc is again made available:
bin$> ./pyspark
Welcome to
      ____              __
     / __/__  ___ _____/ /__
    _\ \/ _ \/ _ `/ __/  '_/
   /__ / .__/\_,_/_/ /_/\_\   version 2.0.2
      /_/
Using Python version 2.7.10 (default, Jul 30 2016 18:31:42)
SparkSession available as 'spark'.
>>> sc
<pyspark.context.SparkContext object at 0x10b021f10>
>>> df = spark.read.csv("/Users/geothread/bank.csv", header=True, mode="DROPMALFORMED")
>>> df.count()
4521
>>> exit()
Monitoring jobs
We can also go and check up on the spark jobs we ran, by accessing the web dashboard installed in Spark. It runs by default on ‘port‘ 4040, so note this number must be added to the URL after the colon, thus:http://localhost:4040/jobs/
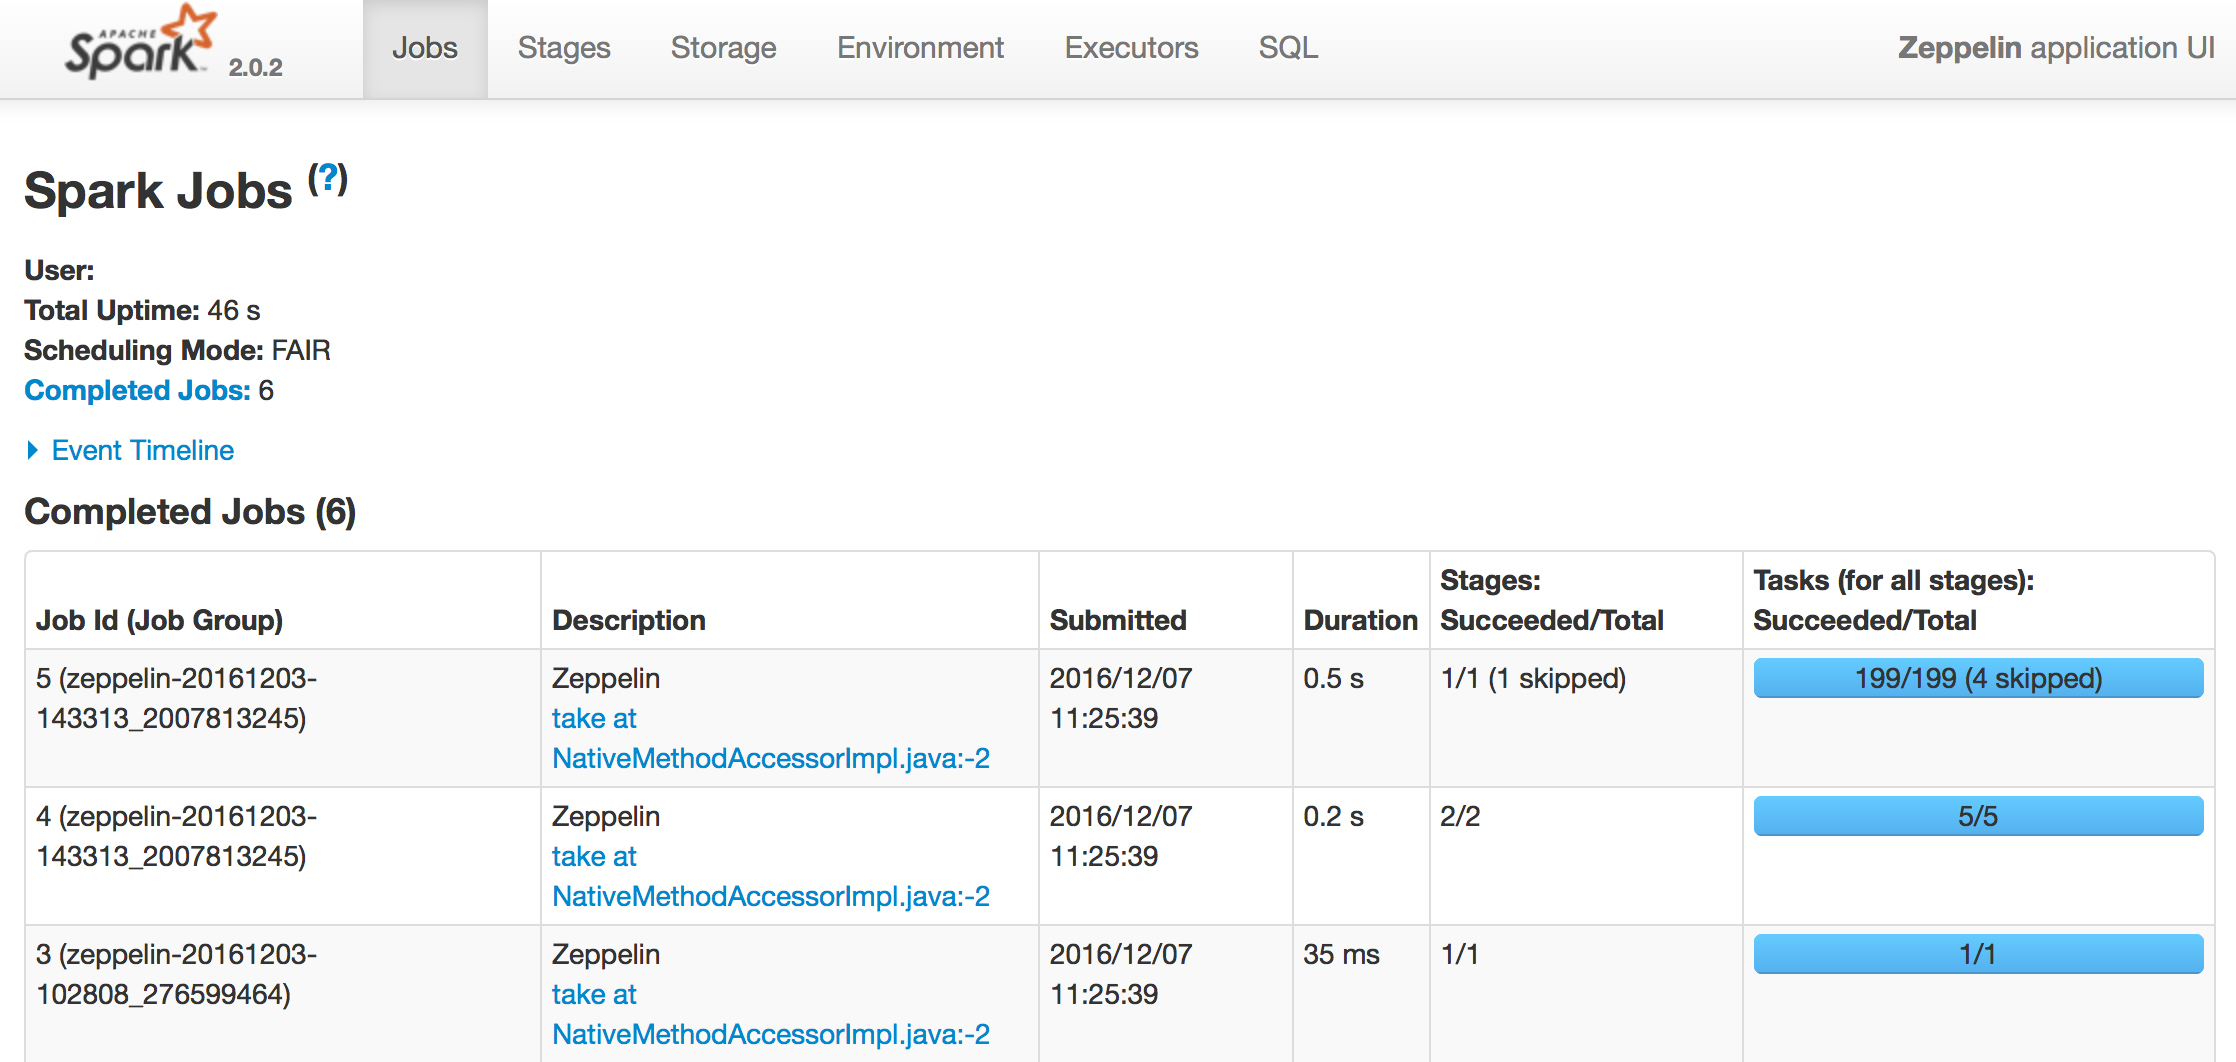 Hopefully this all works OK and the dashboard can be accessed. The next step is to install and configure the Apache Zeppelin notebook.
Installing Zeppelin
Apache Zeppelin offers a web-based notebook enabling interactive data analytics. You can make beautiful data-driven, interactive and collaborative documents with SQL, Scala and more. Zeppelin installs and runs as a server – so there are some fiddly bits to getting it going. Under the bonnet, notebooks are saved off in JSON format – but we don’t really need to know this just to use it.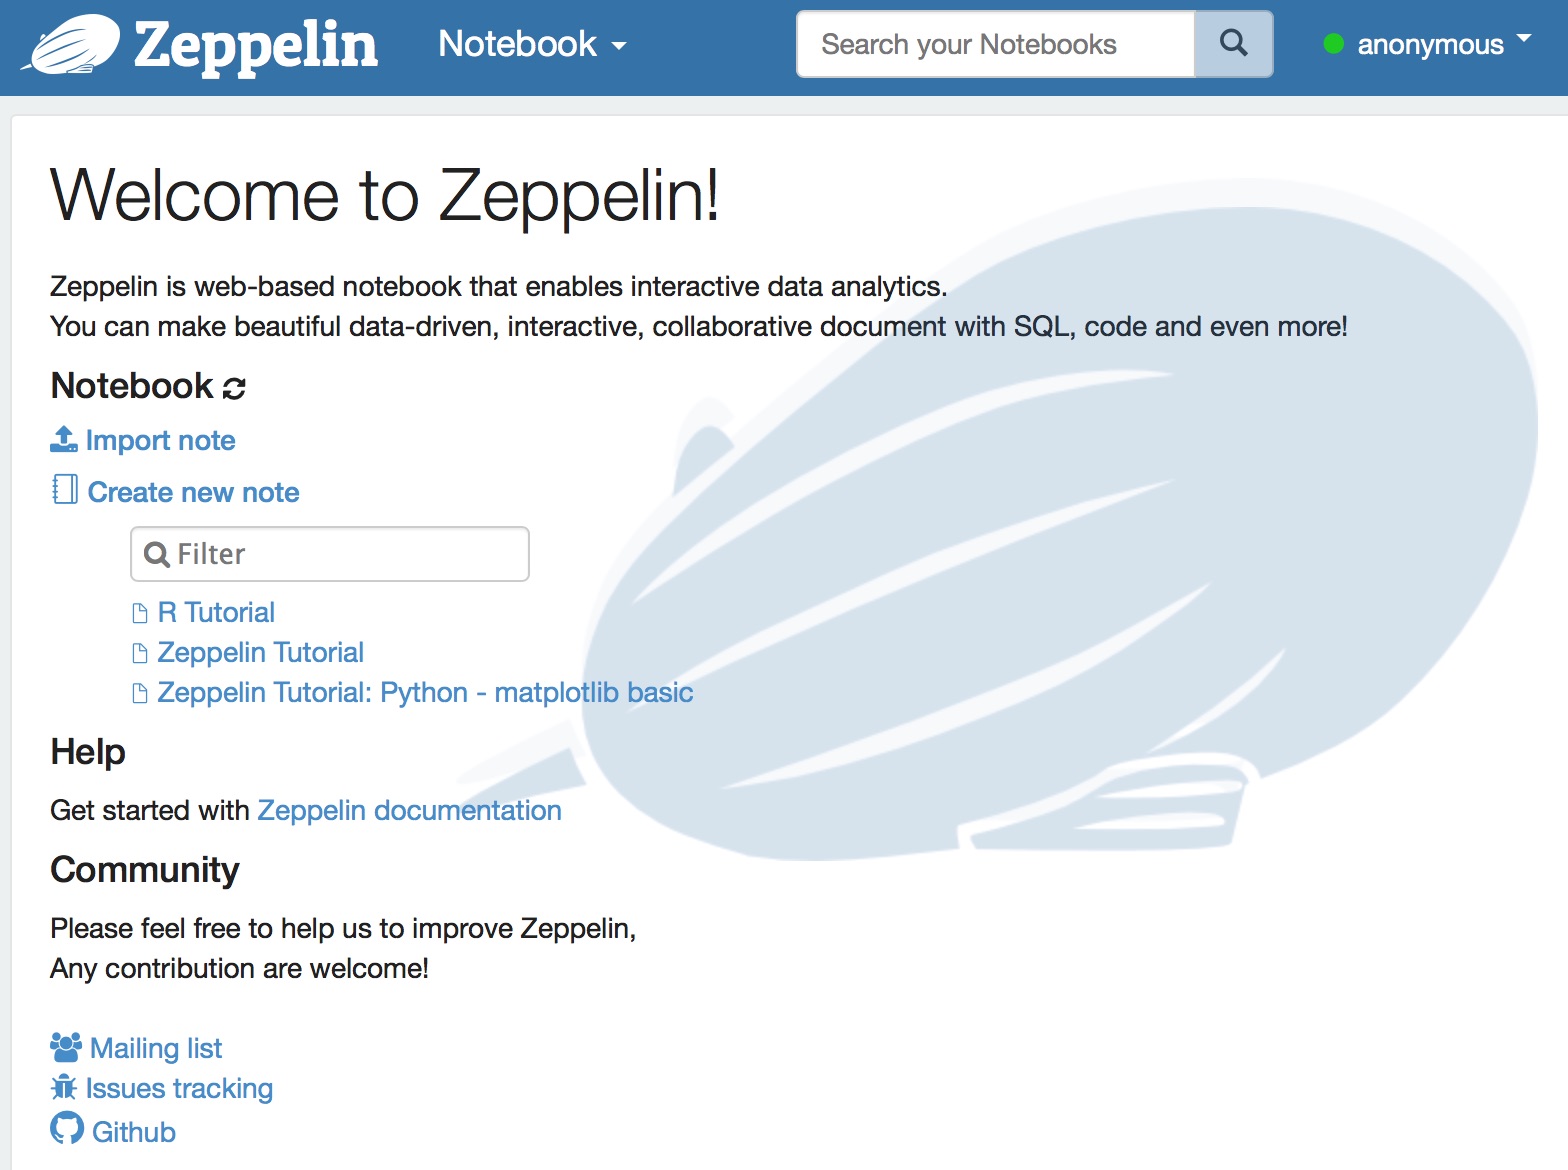 To obtain and run the Zeppelin notebook, use following steps:
1. Go to https://zeppelin.apache.org and ‘Get Download’.
2. Save off and unpack the file to a new folder created in your home folder, e.g. ‘Users/geothread/zeppelin’.
To obtain and run the Zeppelin notebook, use following steps:
1. Go to https://zeppelin.apache.org and ‘Get Download’.
2. Save off and unpack the file to a new folder created in your home folder, e.g. ‘Users/geothread/zeppelin’.
tar -xvf zeppelin-0.6.2-bin-all.tar
3. Go to the conf folder
cd conf
As before, note the template files, look at the file ‘zeppelin-site.xml.template’ – Zeppelin will run on port 8080 by default. If you need to change this (and we did – we needed it to use port 9080 instead), you can make a copy of this file.
cp zeppelin-site.xml.template zeppelin-site.xml
4. Edit the new file with your favourite text editor, (e.g. with nano), to change the port as required.
5. Also in this file, if you are running the zeppelin server locally then you can also edit the server IP to ‘localhost’. When we’d finished editing for our server, the file was as follows (in summary the two edits were to add ‘localhost’ and ‘9080’):
<property>
  <name>zeppelin.server.addr</name>
  <value>localhost</value>
  <description>Server address</description>
</property>

<property>
  <name>zeppelin.server.port</name>
  <value>9080</value>
  <description>Server port.</description>
</property>
6. At this point we ensured the following lines were in the account .profile configuration file in the home folder noting that, as an alternative, these settings can also be added locally in the configuration files in the zeppelin conf folder too.
export JAVA_HOME=$(/usr/libexec/java_home)
export SPARK_HOME="$HOME/spark/spark-2.0.2-bin-hadoop2.7"
7. The next step may or may not be necessary – it was for us. In fact we know this was necessary for us as we got the error message just like the one described online here:
8. Go to https://mvnrepository.com/artifact/com.fasterxml.jackson and download the files: ‘jackson-core-2.6.5.jar‘, ‘jackson-annotations-2.6.5.jar‘ and ‘jackson-databind-2.6.5.jar‘. Note these are not the latest files available! The latest jackson file version didn’t work for us – but v2.6.5 worked fine.
9. Go to the lib folder and remove them (best to just move to somewhere else, e.g. the downloads folder) the files ‘jackson-core-2.5.0.jar‘, ‘jackson-annotations-2.5.0.jar‘ and ‘jackson-databind-2.5.0.jar‘
10. Copy the three new downloaded v2.6.5 version files into the lib folder.
11. Now go to the bin folder and start the server (before using Zeppelin at any time, you will need to ensure the server is running):
./zeppelin-daemon.sh start
12. Note you can also stop and restart the daemon at any time, like this:
./zeppelin-daemon.sh restart and ./zeppelin-daemon.sh stop
You may find it useful to add some shortcuts to your .profile file to save time, for example (with each command being all on one line, and using the correct path of course):
alias zeppelin_start='$HOME/zeppelin/zeppelin-0.6.2-bin-all/bin/zeppelin-daemon.sh start'
alias zeppelin_stop='$HOME/zeppelin/zeppelin-0.6.2-bin-all/bin/zeppelin-daemon.sh stop'
alias zeppelin_restart='$HOME/zeppelin/zeppelin-0.6.2-bin-all/bin/zeppelin-daemon.sh restart'
13. Next, open a browser and open the zeppelin notebook home page:
http://localhost:9080 (or whatever the port number is for you), and hopefully you are off, up and running.
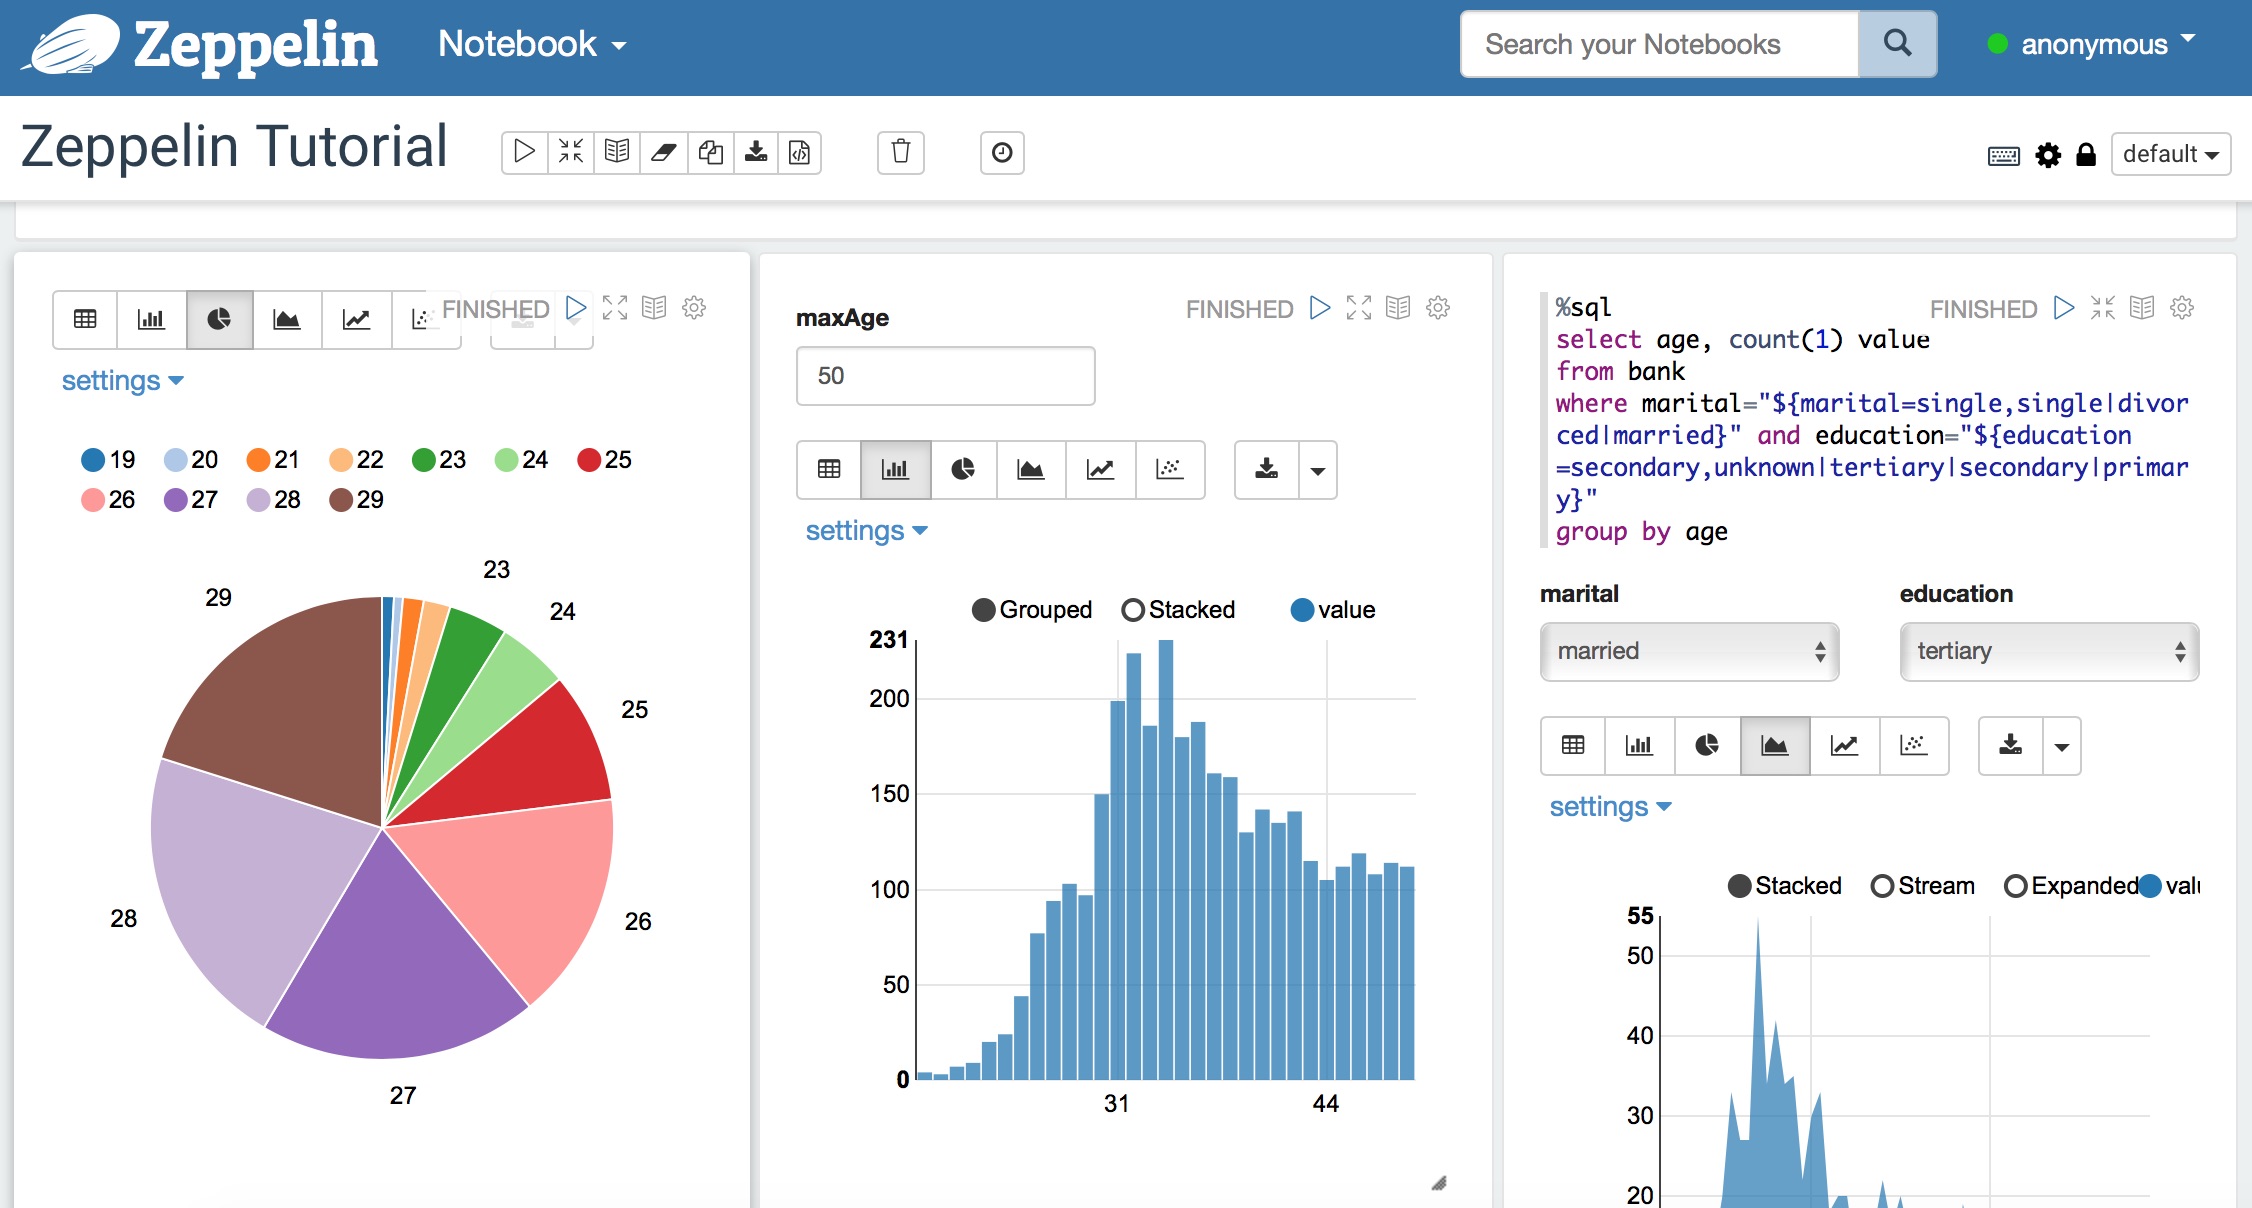 14. Try running the sample notebooks provided. There are many online tutorials for Spark available – such as the excellent one here. So there is no need to reinvent the wheel repeating all that here on GeoThread. However, there are not so many tutorials showing how to integrate geospatial data into Big Data operations, an interest for us – so we hope a future blog will look at that.
If you want to know more about Zeppelin and get a walk through of its many features, watch this video by Moon soo Lee, the understated genius who created Zeppelin, speaking in Amsterdam at Spark Summit Europe 2015.]]>
14. Try running the sample notebooks provided. There are many online tutorials for Spark available – such as the excellent one here. So there is no need to reinvent the wheel repeating all that here on GeoThread. However, there are not so many tutorials showing how to integrate geospatial data into Big Data operations, an interest for us – so we hope a future blog will look at that.
If you want to know more about Zeppelin and get a walk through of its many features, watch this video by Moon soo Lee, the understated genius who created Zeppelin, speaking in Amsterdam at Spark Summit Europe 2015.]]>