Raspberry Pi – Headless Setup
It’s been some time since we wrote our earlier blog describing setting up a Raspberry Pi, and a lot has changed since, including the base operating system. Raspbian Stretch, the latest version of the Debian port for the Raspberry Pi has a lot of great new features and so it is time for an update.
In this blog, we are setting up a Pi in headless mode – that is to say we want it to work over the WiFi via an ssh session from a remote computer from the start – and don’t want to be plugging it into a monitor with a keyboard etc.
The first step is to visit the Raspberry Pi Downloads page. Here, we can either download the ‘Noobs’ installer, or as we will the full Raspbian image. Downloading the Raspbian image, there is a choice between a version with and without a set of recommended software packages installed, Python, Scratch, Sonic Pi, Java etc. Although that is a very useful facility, in this case, we wanted a clean version of Raspbian, so downloaded the file ‘2019-04-08-raspbian-stretch.img’ (the other image file would have ‘-full’ as a suffix. When the file is downloaded, it is a zip file. This is then unzipped to the ‘img’ file.
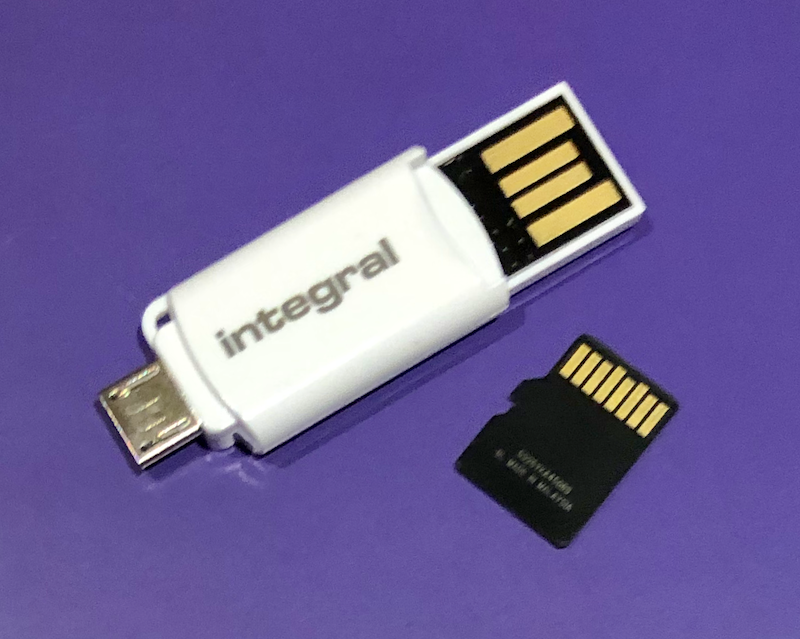
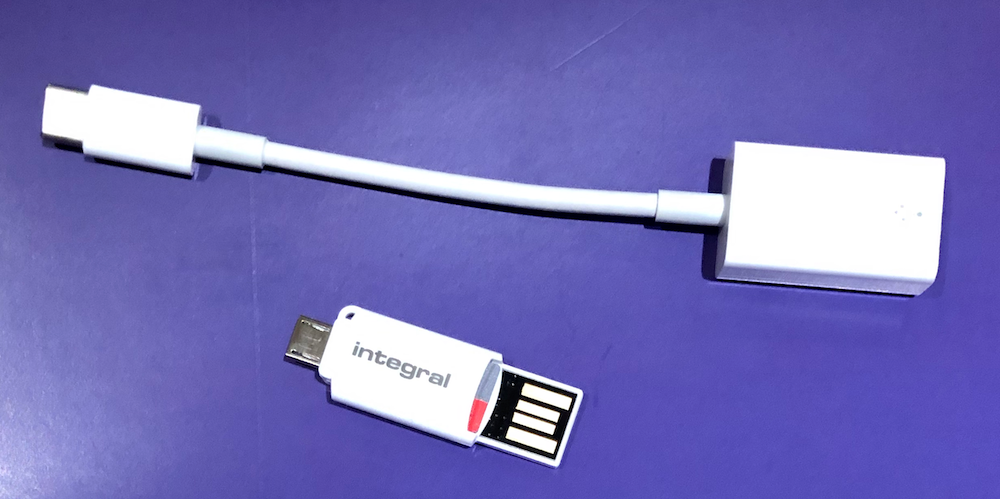
We now need to use the ‘Etcher’ tool to install the image on our new microSD card. Since last using etcher, we note there is also a new version of this excellent utility from Balena too. We inserted the MicroSD card into a USB reader, inserted into the laptop and ran Etcher. From here we select the image, the destination card and hit ‘Flash’. The image is copied to the card and verified.

Once the image is copied over, we need to make the edits to the new installation to make it work on out network. Using a MacBook laptop, we unplugged the USB reader, and then plugged it back in again. This led to a new volume ‘Boot’ being mounted – an icon appears on the desktop.
We opened a terminal and changed to the new volume:
cd /Volumes/boot
Now we need to add two things, a file in this location called ‘ssh’ to enable secure shell access, and secondly the WiFi credentials.
sudo touch ssh
and to create and edit the Wifi configuration file:
sudo nano wpa_supplicant.conf
In the new file, for Raspbian Stretch, we add the following:
ctrl_interface=DIR=/var/run/wpa_supplicant GROUP=netdev
 network={
     ssid="WIFI-SSID"
     psk="WIFI-PASSWORD"
     key_mgmt=WPA-PSK
 }
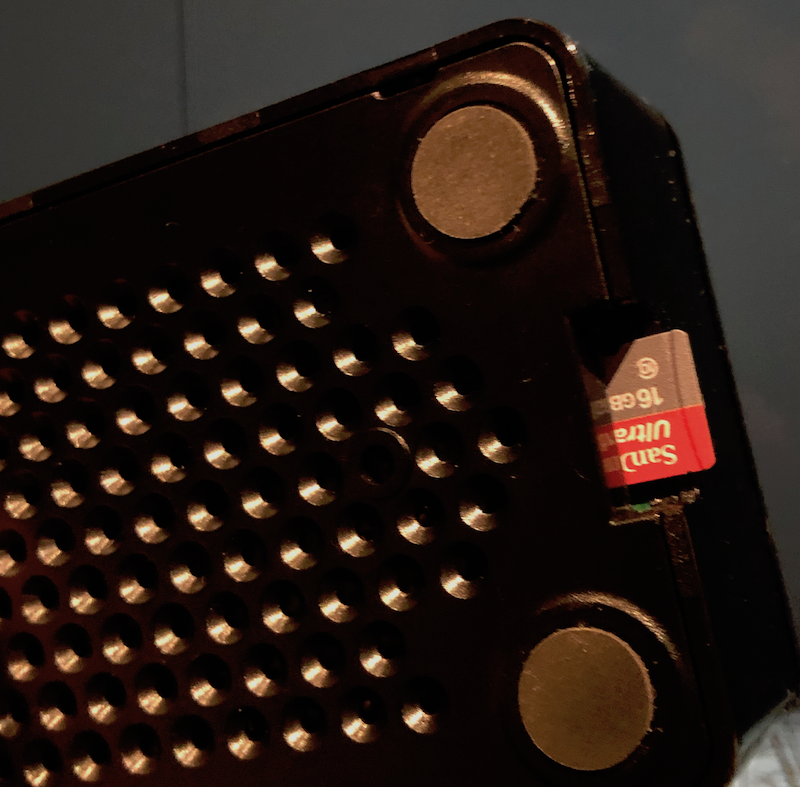
The card is now ready to be inserted into the Pi, and the machine booted up for the first time. Hopefully, the Pi will authenticate correctly on the WiFi network.
We can check the Router utility to see what DHCP address the Pi was assigned, or run a command such as ‘ifconfig’ or ‘arp -a’ to inspect connected devices. In our case the IP address, on a local network, could be for example 192.168.1.100
We should now then be able to ssh onto the Pi
ssh pi@192.168.1.100
The default password is ‘raspberry’. Once we are logged in a few important things. First is to change the system password:
passwd
Next, update and upgrade the system (see link):
sudo apt-get update
sudo apt-get dist-upgrade
If necessary, raspi-config can be run to permit further configuration:
sudo raspi-config
We now have a functioning Raspberry Pi, ready for our next project.
]]>