 Here at Cranfield University we are putting in place plans related to the new ‘Living Laboratory’ project, part of our ‘Urban Observatory’. This project sits within the wider UKCRIC initiative, across a number of universities. Of the many experiments in development, we are exploring machine vision as a means to provide footfall counts of pedestrian traffic in parts of the campus. This blog provides summarises some of the technical considerations relating to this work.
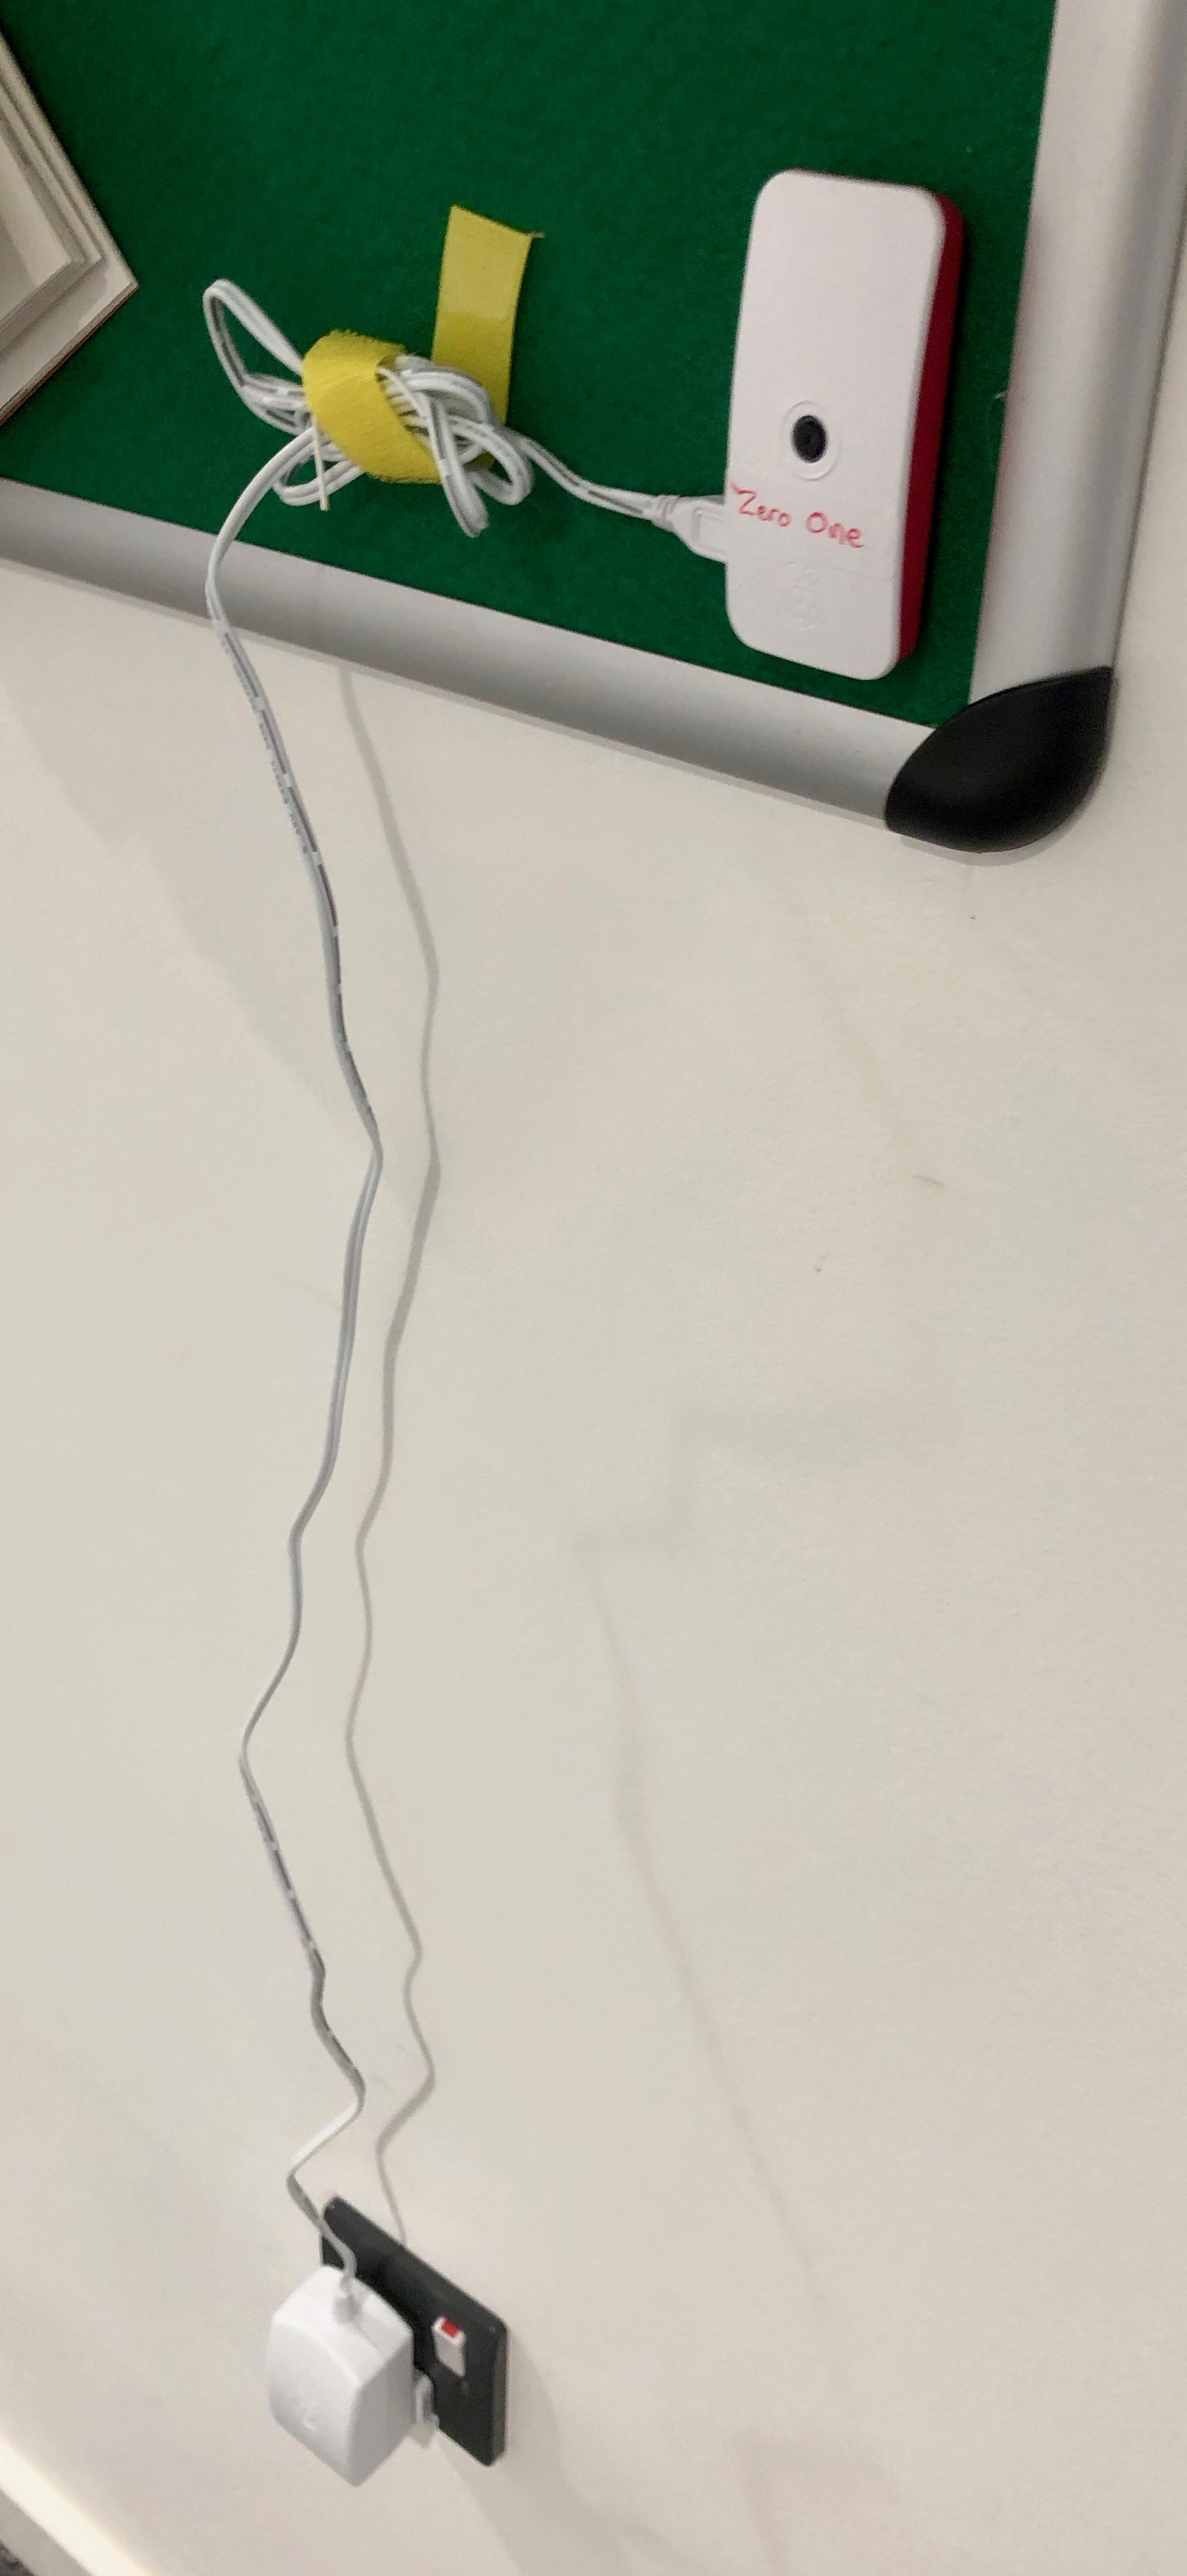
Earlier blogs here on GeoThread have described the use of a Raspberry Pi Zero running the Kerboros software, which uses OpenCV to capture movement in different ways from an attached, or network connected, camera. One of the great additions to Kerboros is a feature permitting ‘counting’ of objects passing between two identified ‘fences’ within the image view. The results of an event being triggered in this way can be output to a range of IO streams. Thus IO can send a result to a stored image file to disk (Disk), send a snippet of video to disk (Video), trigger the GPIO pins on the Raspberry Pi (GPIO), send a packet to a TCP Socket (TCPSocket), send a HTTP POST REST communication (Webhook), run a local (Script), trigger a MQ Telemetry Transport communication (MQTT) or send a push notification message (Pushbullet) – a great selection of choices, to which is also added the ability to write to the Amazon S3 cloud as well as local disk. Outputs can be made in either single streams, or multiple streams – thus one can save an image to disk ‘and‘ run a script for example.
In an earlier blog, we had logged movements in this way to a bash script that executed a series of one-line Python commands to store the triggered output data to disk, appending to a CSV file. However, this approach only offers a limited solution, especially if there are multiple cameras involved. A better strategy is to write data out to a REST endpoint on a web server, using the Webhook capability. In this way the posted JSON data can be collated into a central database (from multiple camera sources).
The option for Webhook was selected, with the URL form of:
<<IP_ADDRESS>>:3000/counter
The reason for this port number, and REST endpoint are made clear in the NodeJS receiver code below.
We set up a separate server running Linux Ubuntu to receive these data. For a database, we selected Postgres as a popular and powerful Open Source SQL database. As a server, able to receive the HTTP POST communication, we selected NodeJS. Once installed, we also used the Node Package Manager (NPM) to install the Express lightweight web server, as well as the Node Postgres framework, node-postgres.
ssh username@IPADDRESS-OF-SERVER # Update the new server sudo apt-get update sudo apt-get upgrade # Install curl, to enable loading to software repositories sudo apt install curl #Installation of Node: curl -sL https://deb.nodesource.com/setup_11.x | sudo -E bash -We then configured Postgres to accept communication from the Raspberry Pi devices
sudo nano /etc/postgresql/10/main/pg_hba.conf
# host all all <>/24 md5 sudo nano /etc/postgresql/10/main/postgresql.conf # search for 'listen' in file # listen_addresses = '< >' We then used PSQL (the Postgres command line utility) to update the system password, and then to add a new user to Postgres to own the resultant database.
# Change password for the postgres role/account: sudo -u postgres psql \password postgres #enter a new secure password for the postgres user role account #create a new user role/account for handling data, and allow it to create new databases CREATE ROLE <> WITH LOGIN PASSWORD '< >'; ALTER ROLE < > CREATEDB; Show all the users to check this worked
\du # and then quit psql \qFinally, a review of the commands to start, stop and restart Postgres.
sudo service postgresql start sudo service postgresql stop sudo service postgresql restartNext, the new Postgres user was used to create a new table with the following fields
id integer NOT NULL DEFAULT [we used the data type SERIAL to outnumber records, and set this field as the Primary Key]
"regionCoordinates" character varying(30)
"numberOfChanges" integer
incoming integer
outgoing integer
"timestamp" character varying(30)
microseconds character varying(30)
token integer
"instanceName" character varying(30)Next the nodeJS project environment was established:
cd mkdir node-api-postgres cd node-api-postgres npm init -y # the editor 'nano' is used to inspect and edit the resultant file 'package.json', and to edit the description as required: nano package.json (to edit description)Lastly, the node package manager npm was used to install the two required node libraries Express and pg:
npm i express pgNext, drawing from the excellent LogRocket blog, an application was written to receive the data, comprising two files, 'index.js', and 'queries.js', as follows:
index.js
// index.js const express = require('express') const bodyParser = require('body-parser') const app = express() const db = require('./queries') const port = 3000 app.use(bodyParser.json()) app.use( bodyParser.urlencoded({ extended: true, }) ) app.get('/', (request, response) => { response.send('Footfall counter - Service running') }) app.post('/counter', db.createFootfall) app.listen(port, () => { console.log('App running on port ${port}.') })queries.js
// queries.js const Pool = require('pg').Pool const pool = new Pool({ user: '<>', host: '< >', database: '< >', password: '< >', port: 5432, }) const createFootfall = (request, response) => { const {regionCoordinates, numberOfChanges, incoming, outgoing, timestamp, microseconds, token, instanceName} = request.body pool.query('INSERT INTO < > ("regionCoordinates", "numberOfChanges", "incoming", "outgoing", "timestamp", "microseconds", "token", "instanceName") VALUES ($1, $2, $3, $4, $5, $6, $7, $8) RETURNING *', [regionCoordinates, numberOfChanges, incoming, outgoing, timestamp, microseconds, token, instanceName], (error, result) => { if (error) { console.log(error.stack) } console.log(`Footfall added with the ID: ${result.rows[0].id}`) response.status(200).send(`Footfall added with ID: ${result.rows[0].id}\n`) }) } module.exports = { createFootfall } One thing to note in the code above is the use of 'RETURNING *' within the SQL statement - this allows the 'result' object to access the full row of data, including the automatically generated Id reference. Otherwise this would not be accessible as it it generated on the server and not passed in by the INSERT statement.
Now the Node application is started up, listening on port 3000 on the REST endpoint /counter' (both defined in index.js).
node index.jsThe result is data streaming into the Postgres database.
Once this is in place, we can run a test to check the system can receive data. For this we can use the curl command again, like this:
curl --data "regionCoordinates=[413,323,617,406]&numberOfChanges=1496&incoming=1&outgoing=0×tamp=1539760397µseconds=6-928567&token=722&instanceName=LivingLabTest" http://<>:3000/counter Footfall added with ID: 1 The result is a new record is added to the database. To check the data row was added correctly, a quick way is to use the graphical pgAdmin tool that is used to interact with Postgres databases. Set up a new connection to the server database, and inspect the table to see the record, thus:
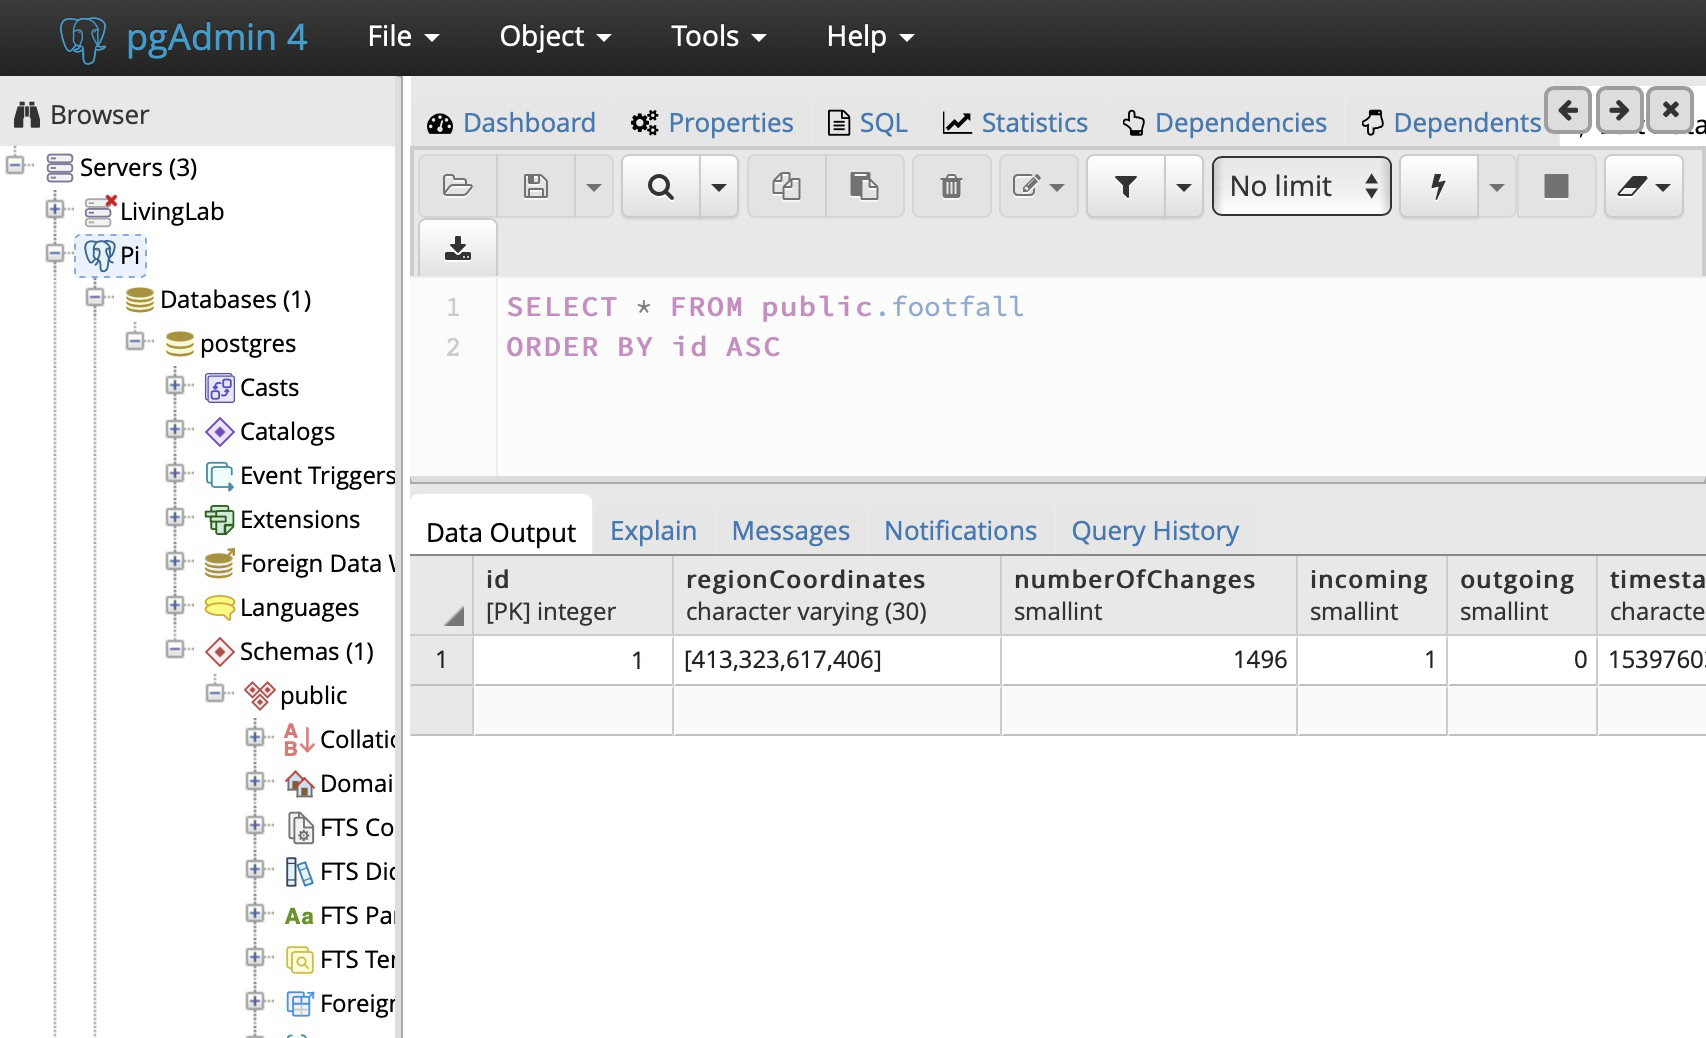
The next step is to connect to the Raspberry Pi Zero running Kerboros, and configure its output to the IO output 'Webhook' taking, as noted above, a URL form of:
<<IP_ADDRESS>>:3000/counter.
Note here the port number of 3000 referenced, and also a request from Manchester. Once the Kerboros software is updated, data should be seen to be arriving at the database. pgAdmin can be used again to inspect the result.
A final step then is to set up a daemon service that can stop and start the node programme. This means that if the server is rebooted, the We followed the Hackernoon blog and took the following steps:
First, a file was created "/etc/systemd/system/node-api-postgres.service", with the following content:[Unit] Description=Node.js node-api-postgres Footfall service [Service] PIDFile=/tmp/node-api-postgres.pid User=<> Group=< > Restart=always KillSignal=SIGQUIT WorkingDirectory=/home/< >/node-api-postgres/ ExecStart=/home/< >/node-api-postgres/index.js [Install] WantedBy=multi-user.target Next, make the file executable:
chmod +x index.jsNext, the service can be prepared:
sudo systemctl enable node-api-postgres.serviceIf the service file needs any editing after the service is prepared, the daemons need to all be reloaded, thus:
systemctl daemon-reloadFinally, the service may now be started, stopped or restarted:
sudo systemctl start node-api-postgres.service sudo systemctl stop node-api-postgres.service sudo systemctl restart node-api-postgres.serviceA command can also be added to restart the Postgres database on a reboot:
update-rc.d postgresql enableConclusion and Epilogue
This blog has shown how to capture footfall counting data sourced from a Rasberry Pi with a camera running Kerboros, to a separate server running the database Postgres, using NodeJS and related packages. The result is a robust logging environment capable of receiving data from one or more cameras logged to database.
In order to operate the system, the general instructions are as follows:
First, log onto the Unix boxssh <>@< > Next, update and upgrade the system (do this regularly)
sudo apt-get update sudo apt-get upgradeEnsure Postgres is running
sudo service postgresql start sudo service postgresql stop sudo service postgresql restartNext, ensure the Node app is running
sudo systemctl start node-api-postgres.serviceYou should now just wait for data to arrive - using pgAdmin to inspect and interrogate the database table.
]]>
